
Surreal Tunnel books

.JPG&container=blogger&gadget=a&rewriteMime=image%2F*)
My students were tasked with creating a surreal tunnel book and we spent a considerable amount of time in the planning process. Some people go to that off-the-wall surreal place effortlessly while others require a more involved process. The best tip I had for the kids who seemed to struggle with coming up with an idea was to establish a place (a desert, a landscape, a sky, outer space) and then add surreal elements into that place.
This is the process along with instructions on putting a tunnel book together:
1. I had my students start with a 2d sketch. It's okay if your idea changes or develops further in the process but I needed to see a general pencil sketch of their plan.

2. Next, paint a background, mine was 11x14.

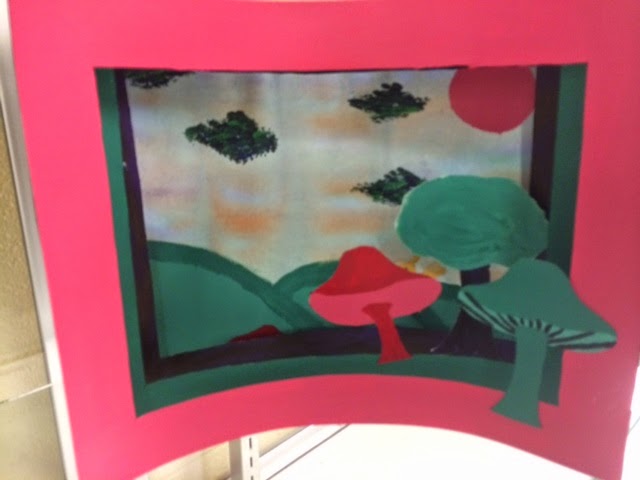
3. Next, cut out frames (mine were 11x14) and create "props" or items which will be attached to those frames. My props are a combination of painted imagery (the tree) and edited and printed out images (butterflies, children, animals). You will also want to do a poster board backing behind your props so they stand up the right way. Also, paint your frames however you want.

4. Attach all props (tree, butterfly, children) to frames


This is what you will have:

Now, let's talk about how to attach the accordion sides. You will need:
1. 2 11x9 inch black papers
2. a white colored pencil
3. masking tape
4. your background
5. your 3 frames

1. Fold in half

Fold the top part back (sort of like how you fold back wings of a paper airplane).

Fold the bottom back.

You will have four sections. Fold each section in half and you may have to make a fold go the opposite way in order to have 8 sections that go back and forth like a fan. This is what it will look like:

Do that with both papers.

You should have 2 accordion folded black papers with 7 sides.


Now, attach the background to number 7 and number 14.


Next, tape 5 and 10.

Attach your back frame to 5 and 10.

Tape 3 and 12.

Attach your next frame to 3 and 12.

Tape 1 and 14.

Attach front layer to 1 and 14. You are finished!

Student Examples:
.JPG)


.jpg)


0 comments:
Post a Comment